GitHub sponsor links
Sponsor your GitHub Repositories
Add a Sponsor button to any of your GitHub repos. When someone clicks it, they'll land directly on your Myhappr page.
In your GitHub repo, the root directory of your project, create the file .github/FUNDING.yml
If the .github folder doesn't exist yet, create it too.
Paste this into the file and commit
custom: https://myhappr.com/your-usernameDone, the Sponsor button appears automatically
GitHub shows a "Sponsor" button at the top of your repo. Anyone who clicks it lands on your Myhappr page. Works on all your repos, just add the same file to each one.
Why is the button not showing yet?
Even though you have committed the .github/FUNDING.yml file, GitHub requires you to manually toggle the "Sponsorships" feature on in your repository settings before the button displays.
Here are the quick steps to activate it:
1. Go to your repository homepage on GitHub.
2. In the top tabs (where it lists Code, Issues, Pull Requests, Actions...), click the Settings tab on the far right.
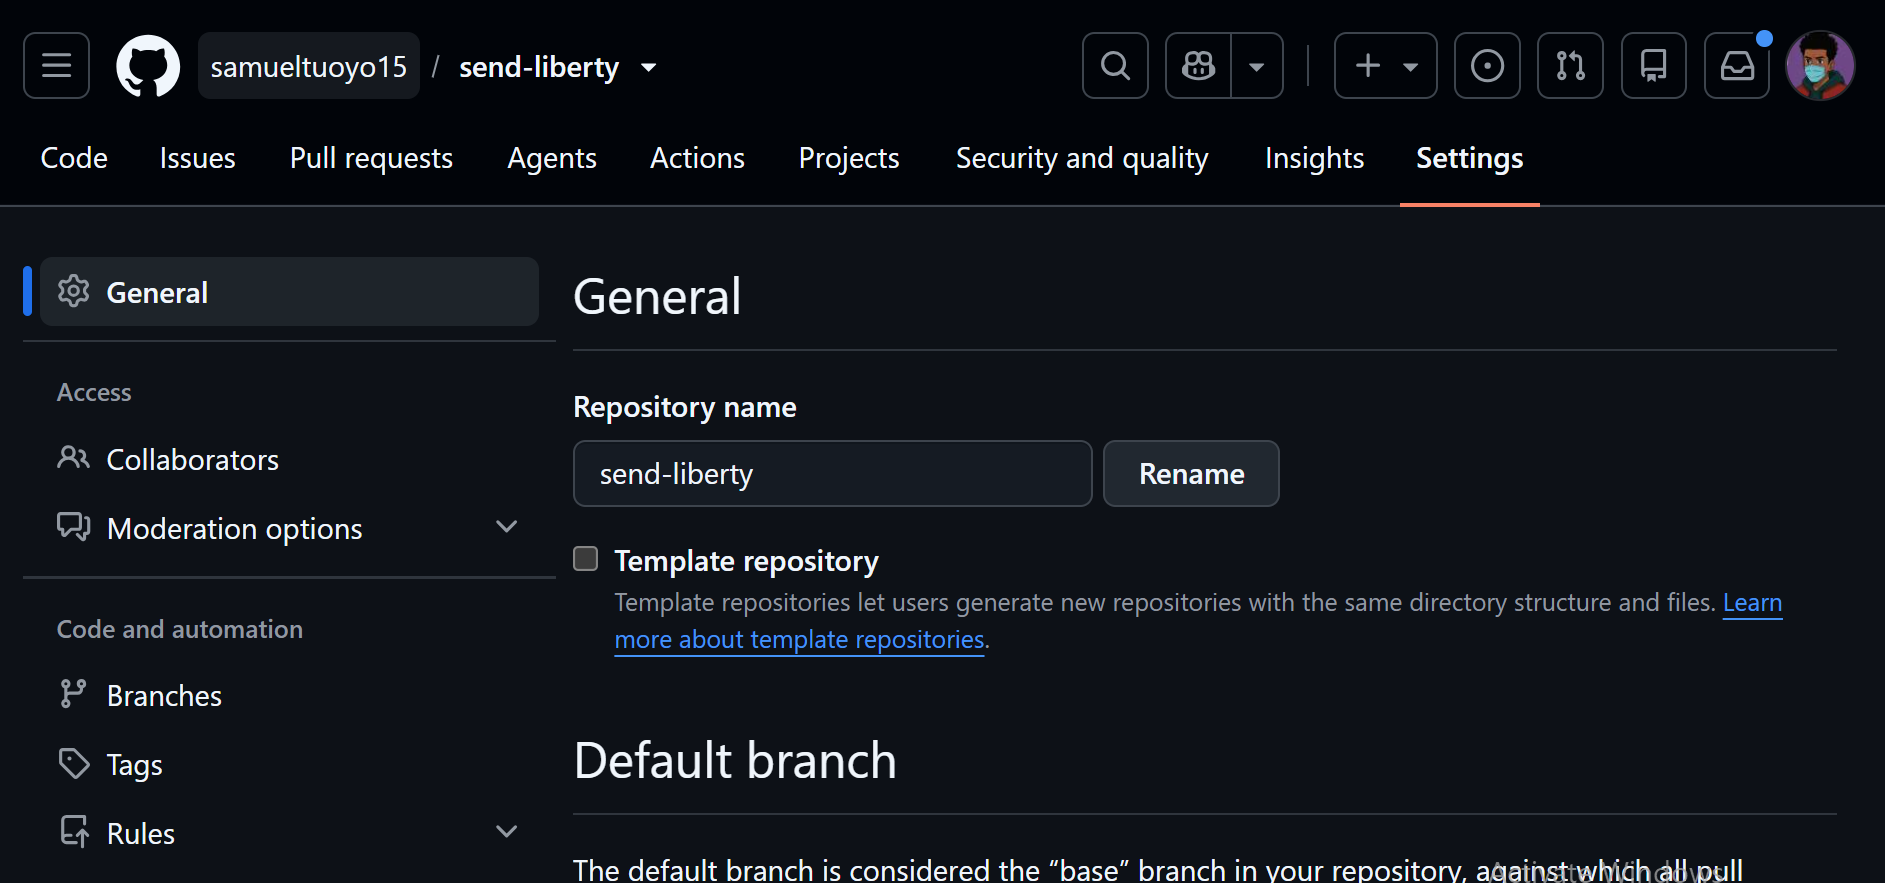
3. On the default General settings page, scroll down to the Features section.
4. Find the checkbox labeled Sponsorships (it says: "Display a sponsor button in this repository to showcase funding links...") and check it to enable.
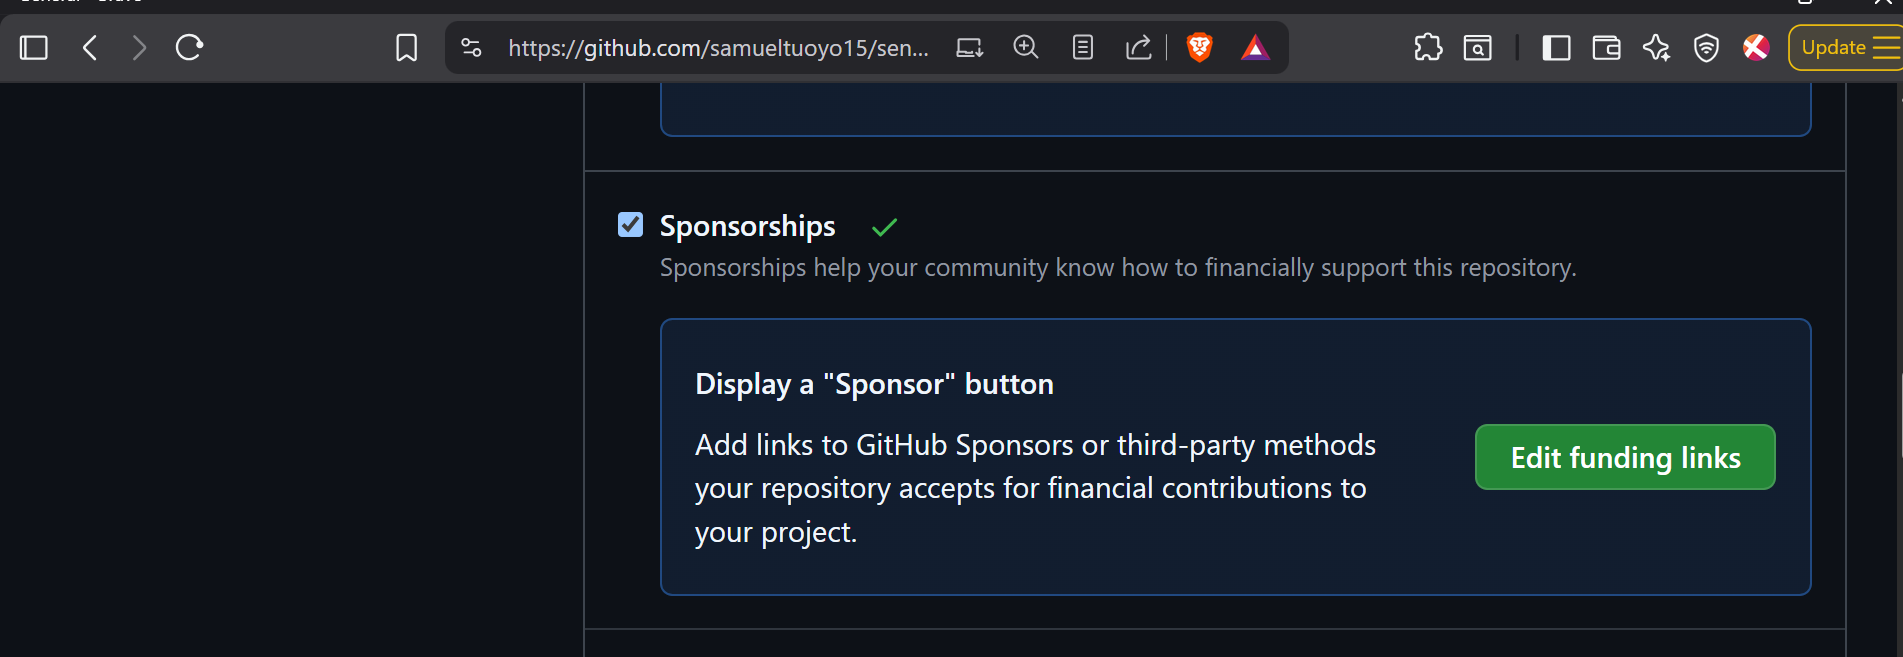
5. Once you check that box, GitHub will instantly parse your FUNDING.yml file and display the pink Sponsor button in the right-hand sidebar of your repository (directly under the "About" section)!
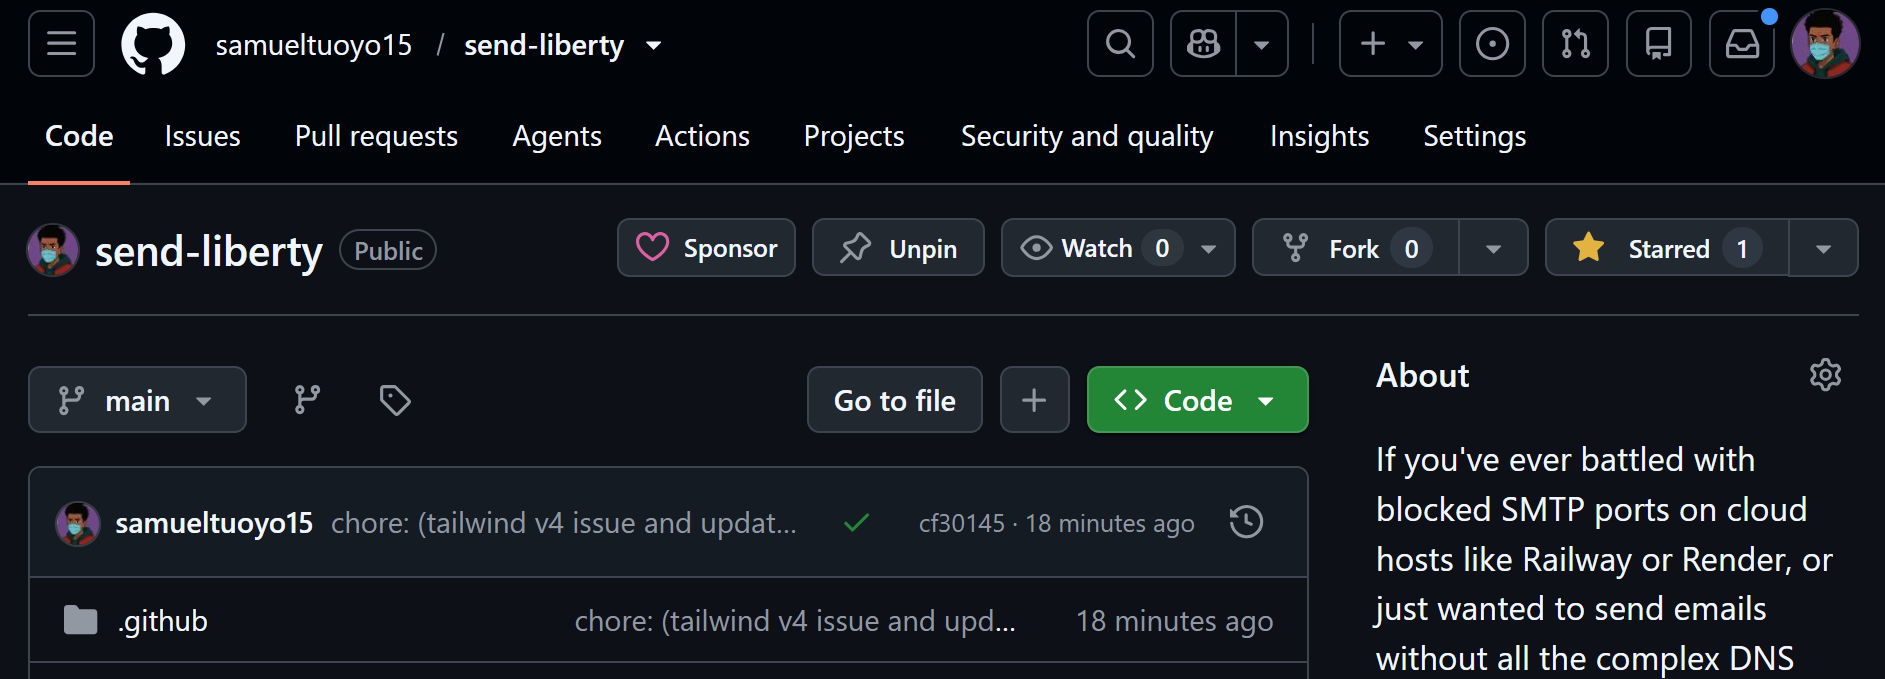
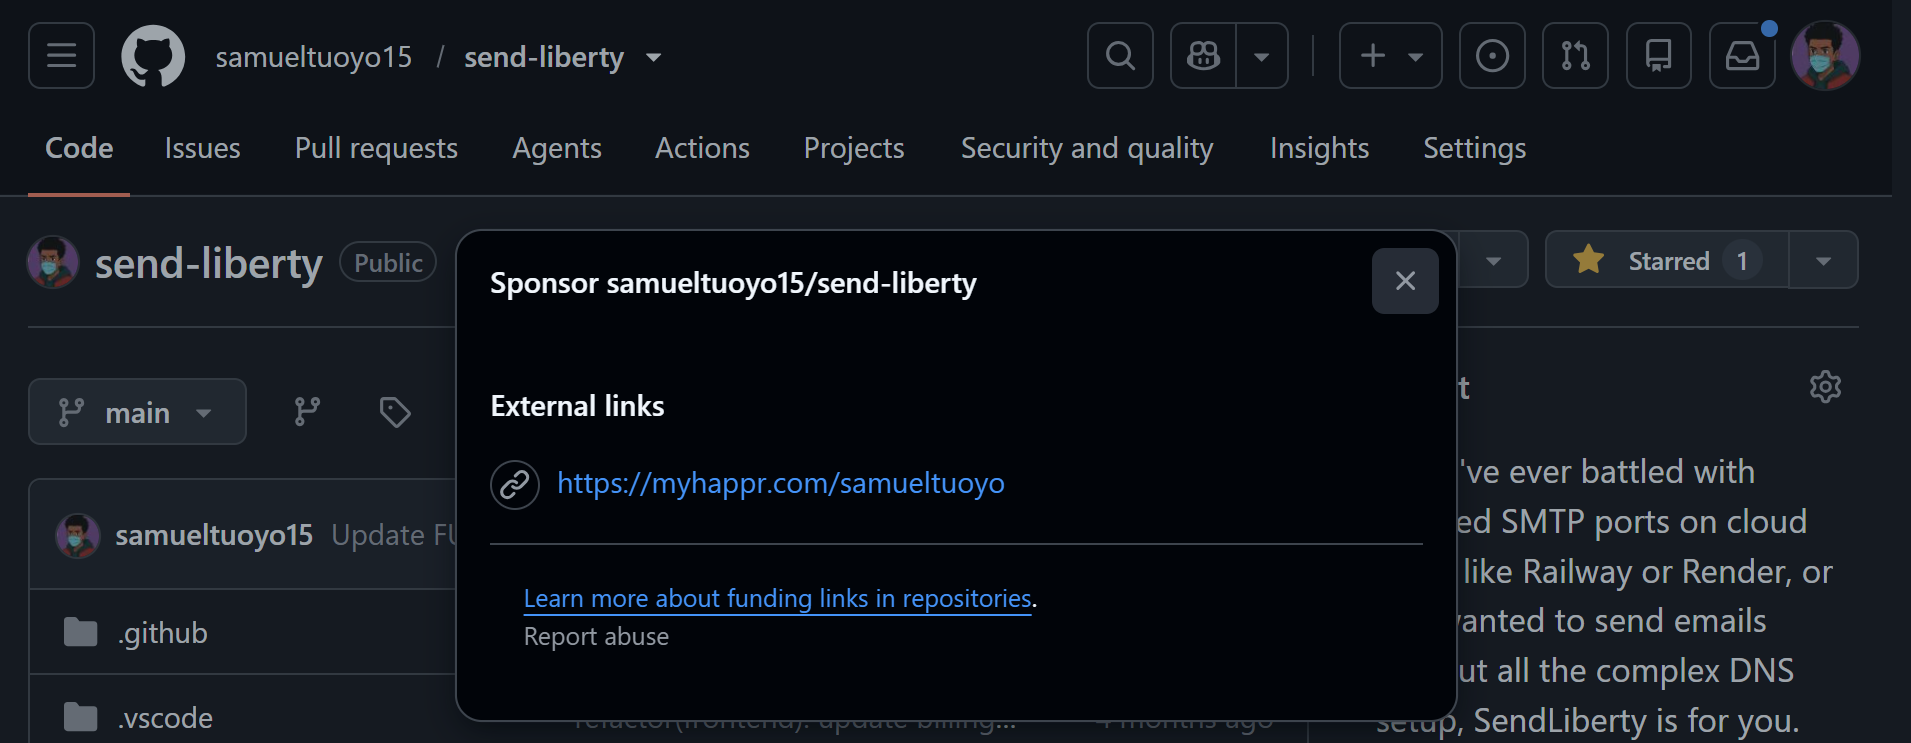
This is what your repository visitors will see at the very top of your page: